How to Replace Garage Door Springs
When it comes to maintaining your garage door, understanding how to replace garage door springs is an essential skill to have. The garage door spring plays a critical role in the smooth operation of your garage door, ensuring it opens and closes safely and efficiently. In this guide, we will walk you through the process of replacing garage door springs, along with some important tips and considerations. Whether you’re looking for garage door spring repair in Philadelphia, PA, panel replacement, or even information about garage door openers, you’ve come to the right place!
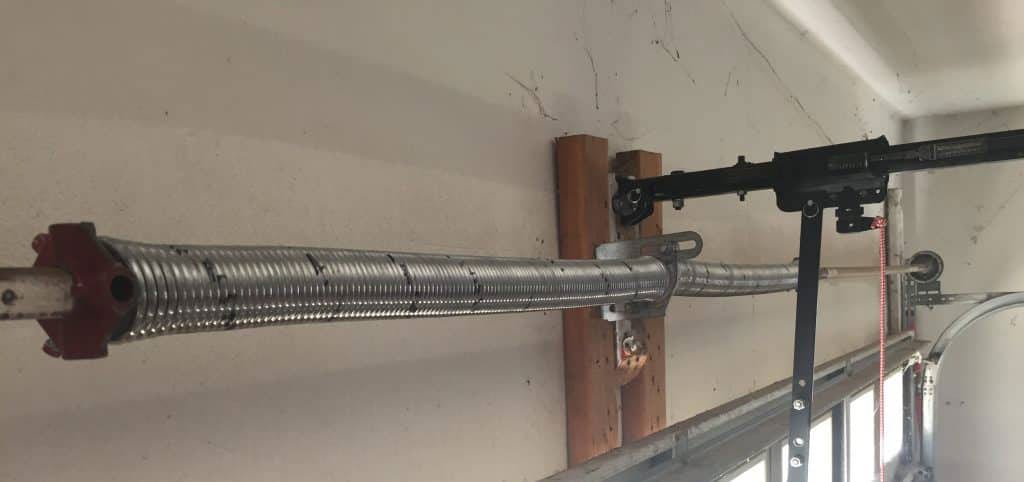
- Understanding Garage Door Springs:
Garage door springs are responsible for counterbalancing the weight of the garage door, making it easier to open and close. There are two types of garage door springs: torsion springs and extension springs. Torsion springs are typically mounted above the garage door opening, while extension springs are placed on both sides of the door. Understanding the type of spring system your garage door has is crucial for a successful replacement.
- Safety First:
Before attempting any garage door spring repair or replacement, ensure you prioritize safety. Garage door springs are under high tension and can cause serious injuries if mishandled. It’s recommended to seek professional assistance if you’re unsure about the process. However, if you’re confident in your abilities and take all necessary precautions, you can proceed with caution.
- Step-by-Step Garage Door Spring Replacement:
a. Gather the necessary tools: To replace the garage door spring, you’ll need a winding bar, a set of wrenches, safety goggles, gloves, and a ladder.
b. Release tension from the old spring: If you have a torsion spring system, use a winding bar to unwind the tension from the old spring. For extension springs, you’ll need to disconnect them from the pulleys.
c. Remove the old spring: Once the tension is released, carefully remove the old spring and dispose of it properly.
d. Install the new spring: Follow the manufacturer’s instructions to install the new garage door spring. Make sure it is properly secured and aligned.
e. Test the door: After the replacement, test the door’s functionality by manually opening and closing it. Ensure it moves smoothly and without any issues.
- Additional Garage Door Maintenance Tips:
a. Regularly inspect the condition of your garage door springs and cables to identify signs of wear and tear. Addressing minor issues promptly can prevent more significant problems down the line.
b. Consider professional garage door spring repair in Philadelphia, PA, to ensure proper installation and to address any complex issues.
c. If you notice any damaged panels, seek panel replacement services to maintain the aesthetic appeal and structural integrity of your garage door.
d. Explore different types of garage door openers to enhance convenience and security.
Conclusion:
Replacing garage door springs is a task that requires attention to detail and a focus on safety. By following the step-by-step process outlined in this guide, you can confidently tackle this essential maintenance task. Remember to prioritize safety and seek professional assistance when needed, especially for complex repairs or if you’re unsure about your abilities. For reliable garage door spring repair, panel replacement, and information about garage door openers in Philadelphia, PA, contact our experienced team of professionals. Your garage door’s longevity and functionality depend on regular maintenance and timely repairs.
